
Many websites owners would limit themeselves to Google and Bing when it comes to verifying their websites on search engines as these are the most and largely known search engines and thus forgetting generally about another interesting one which is…
Yandex.
Verifying your website on Yandex which is a russian seach engine through its Yandex Webmaster Tools would help you as well monitor your site’s performance on this search engine and keep you updated with any issues it might be experiencing on it.
In our guide for today, I’ll show you GUYS how to verify your website on Yandex search engine the easiest way ever!
If you’re ready to go…
Let’s dive in!
Steps to Verifying your Website on Yandex
In order to verify your website on Yandex, please follow these easy steps…
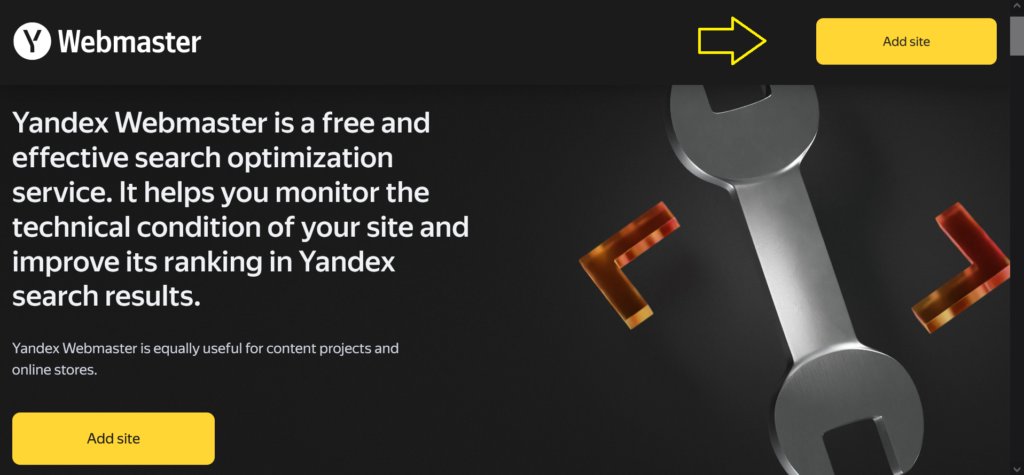
1 – Creating an Account on Yandex Webmaster Tools
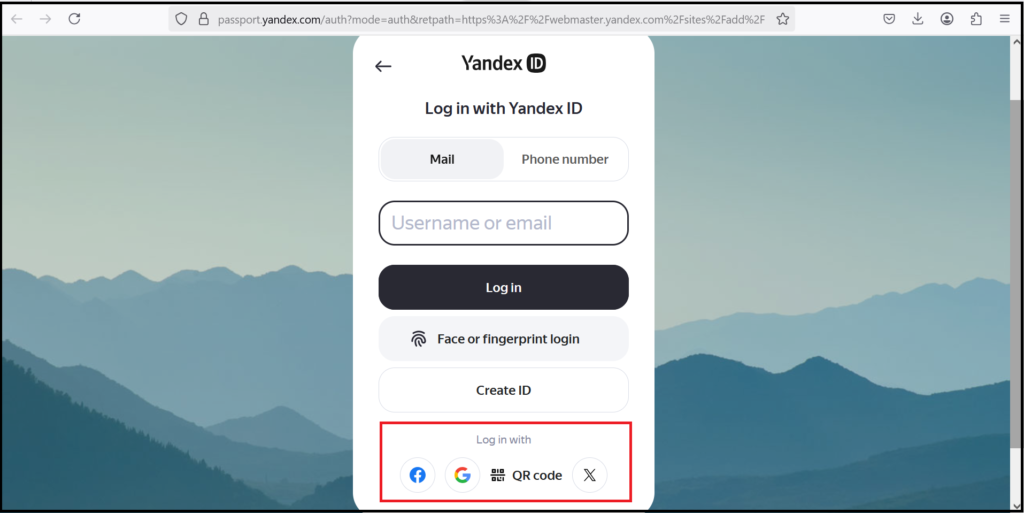
The first thing you need to do at this step is to have an account on Yandex Webmaster Tools. In case you don’t, you can proceed with creating one or simply login with your Google account, Facebook account or with your account on X.
Screenshot from Yandex Webmaster Tools, April 2025
Screenshot from Yandex Webmaster Tools, April 2025
2 – Adding Website on Yandex
Now that you logged in successfully to your account on Yandex Webmaster Tool, proceed with the following:
- Head over to “Site address” Field
- Type in or copy paste your website URL
- Click “Add” button

Screenshot from Yandex Webmaster Tools, April 2025
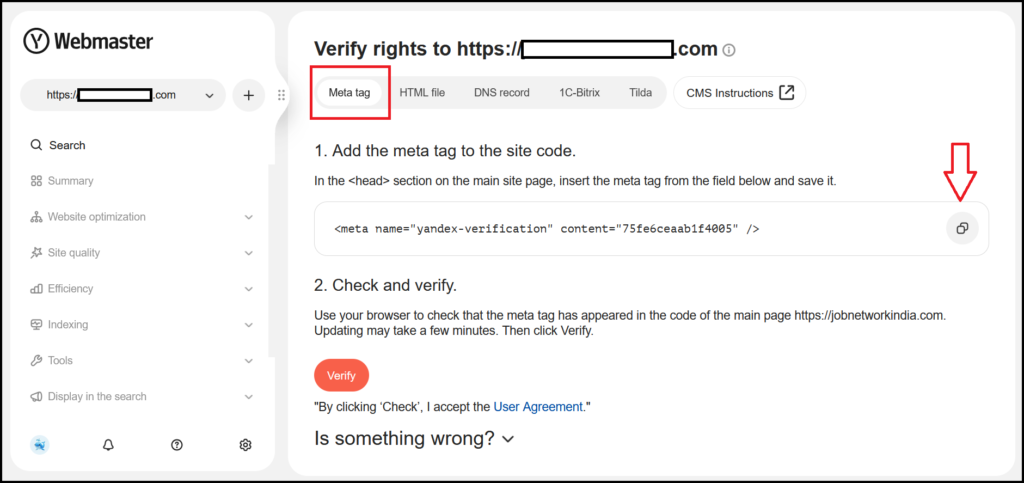
3 – Verifying Rights to Website
After hitting that “Add” button, you’ll be redirected to a new page with different methods to verify your website such as through an “HTML file”, “DNS record”, Meta tag or through other ways too.
Out of these, please choose “Meta tag” method as it is the easiest one amongst them.
Click the copy “sign” on the right side…
Screenshot from Yandex Webmaster Tools, April 2025
Steps to Adding Meta tag Code to Website through WordPress
In order to add that Meta tag to your website, your can go many ways and through different plugins…
In today’s guide, we’ll see how to do it through Rank Math Plugin…
In order to add your code through Rank Math, please do the following:
Navigate to WordPress
- Log into your WordPress account
- Navigate to Rank Math to be found on the left side menu (If you don’t find it in there, chances you still have to download and install it under “Plugins” section)
- After clicking Rank Math, Go to “General settings”
- Then click “Webmaster Tools”
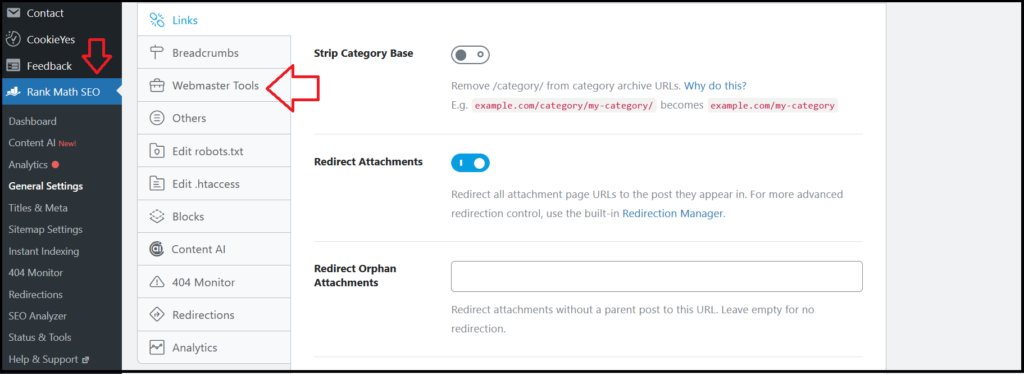
Screenshot from WordPress, April 2025
Add Meta tag Code in Yandex Verification ID Field
After clicking that “Webmaster Tools” as seen above, you’ll get displayed many fields for different search engines verification codes…
Head over to “Yandex Verification ID” field and paste the Meta tag you previously copied on Yandex webmaster Tools dashboard.
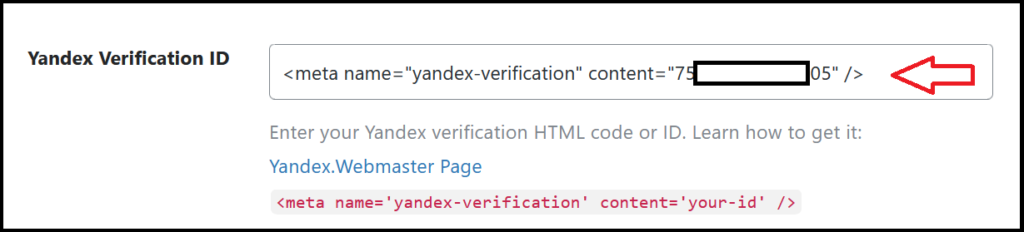
Screenshot from WordPress, April 2025
Scroll down and click “Save changes” button.

Screenshot from WordPress, April 2025
Verify back on Yandex
Now that you have successfully added and saved changes, you’ll need to go back on the Yandex Webmaster Tools to get it to check and verify your website…
To do so, simply click that “Verify” orange button.
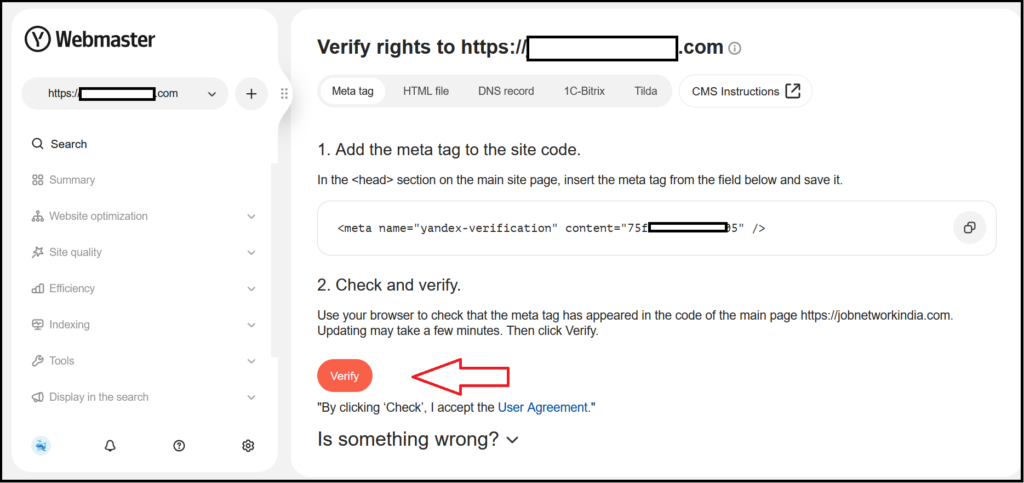
Screenshot from Yandex Webmaster Tools, April 2025
If everything has been done correctly, you’ll get the following page confirming your website has been successfully added and verified in “Yandex Webmaster Tools“.
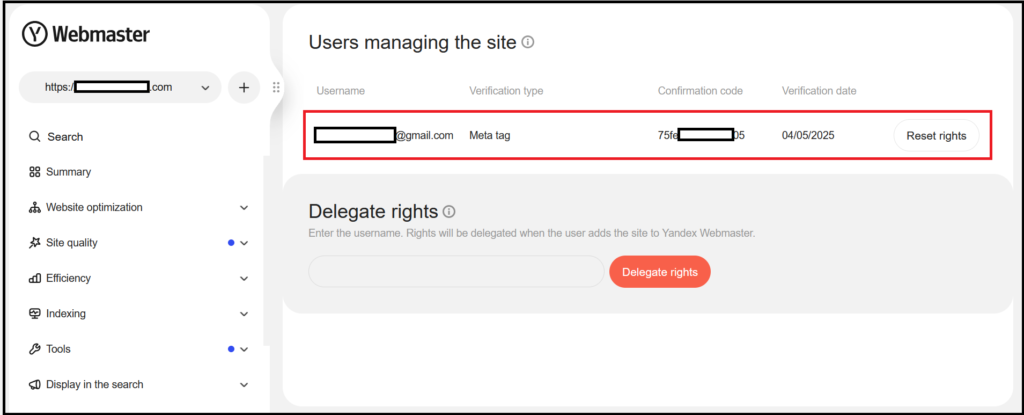
Screenshot from Yandex Webmaster Tools, April 2025
That’s it GUYS!
I hope you so enjoyed my guide of today and more importantly have learnt alot regarding Yandex search engine and how you can successfully verify your website through its Webmaster Tools. In case you’ve got any question or tips to share, let me know in the comment section below.
Featured Image : Designed by Freepik
Leave a Reply